 How-to
At Home Tanning of Fur on Hides - A Rough Step-by-Step Guide
Last Updated: November 9, 2026
Quick Summary
Yes, you can tan a hide with the fur still on, a method called hair-on tanning. The fur stays attached to the skin throughout, which makes it ideal for rugs, throws, and wall mounts. It takes more care than hair-off work, since fur can slip if the skin is handled roughly.
- Hair-on tanning keeps fur attached and suits rugs, throws, and mounts.
- Fleshing is best done within a day of harvest, scraping away from the fur.
- Salt a quarter-inch layer on the flesh side to preserve the hide before tanning.
- Keep soaking water below about 70°F, since warm water often causes hair slippage.
- Chemical-free egg-yolk tanning suits small pelts but needs repeated applications.
Table of Contents
- Hair-On vs. Hair-Off Tanning: The Direct Answer
- How to Tan a Hide With Hair On for Beginners
- How Long Can You Tan a Hide With Fur On?
- How to Tan a Hide Without Chemicals
- How to Tan a Deer Hide With Hair On
- Preventing and Diagnosing Hair Slippage
- Your Next Step: Sourcing Raw Pelts Responsibly
- Frequently Asked Questions
Hair-On vs. Hair-Off Tanning: The Direct Answer
Yes, you can tan a hide with fur on. This method is called hair-on tanning, and it keeps the fur attached to the skin throughout the process. Hair-off tanning removes the hair first, which gives a smooth, flat leather.
The biggest difference is the goal. Hair-off leather suits clothing and bags. Hair-on hides suit décor and display.
- Hair-on tanning: Fur stays attached. Best for rugs, throws, and mounts.
- Hair-off tanning: Fur is removed. Best for gloves, garments, and soft leather goods.
Hair-on work takes more care. The fur can slip out if the skin is handled roughly, so gentle technique matters from the first step.
How to Tan a Hide With Hair On for Beginners
Hair-on tanning follows a fixed order, and skipping a step usually shows up later as slipping fur or stiff, crusty skin. Work through each stage in sequence, and treat the fur as the fragile part of the project rather than an afterthought.
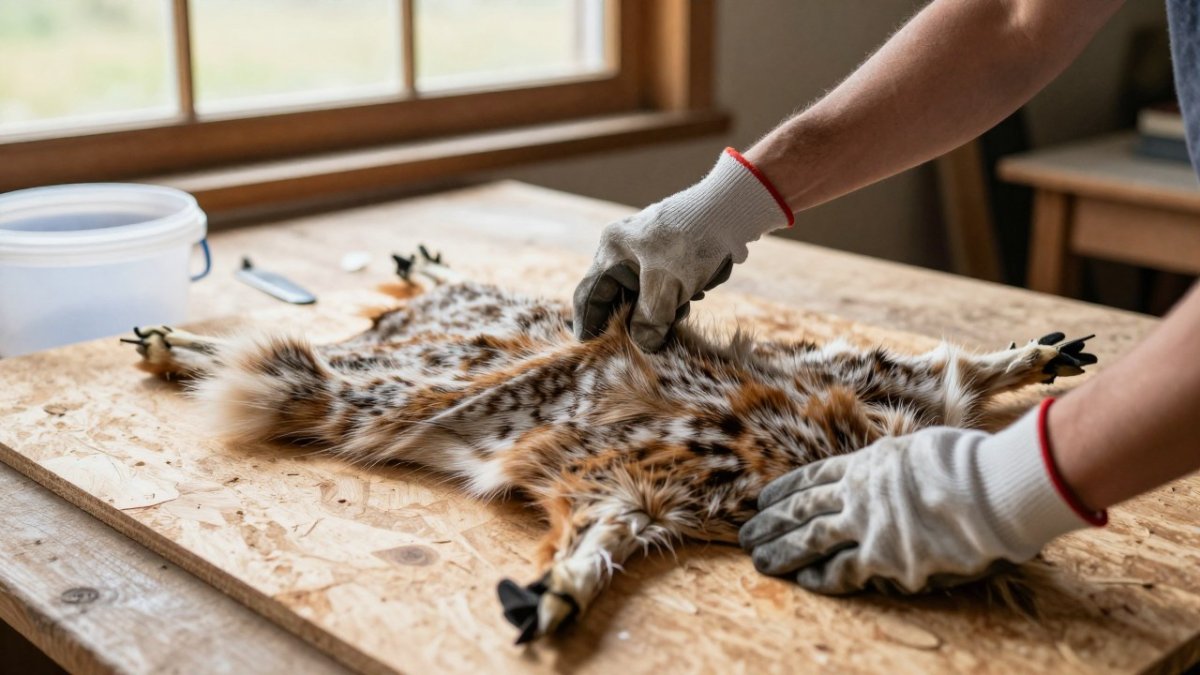
Tools and materials to gather first:
- A plywood or HDPE fleshing board, sized larger than the hide
- A dull fleshing knife or a drawknife with a rounded edge
- Two plastic buckets (one for soaking, one for the tanning bath)
- Non-iodized salt, such as canning or pickling salt
- Nitrile or rubber gloves and eye protection
- A thermometer that reads in the 50-70°F range
- A spray bottle, sponge, or soft brush for applying solution
- A cool, shaded drying area with good airflow
Safety and sanitation before you start. Raw hides can carry bacteria, so wear gloves, keep the workspace off-limits to pets and children, and wash tools and hands with hot soapy water when you finish.
Fleshing and Removing Meat and Fat
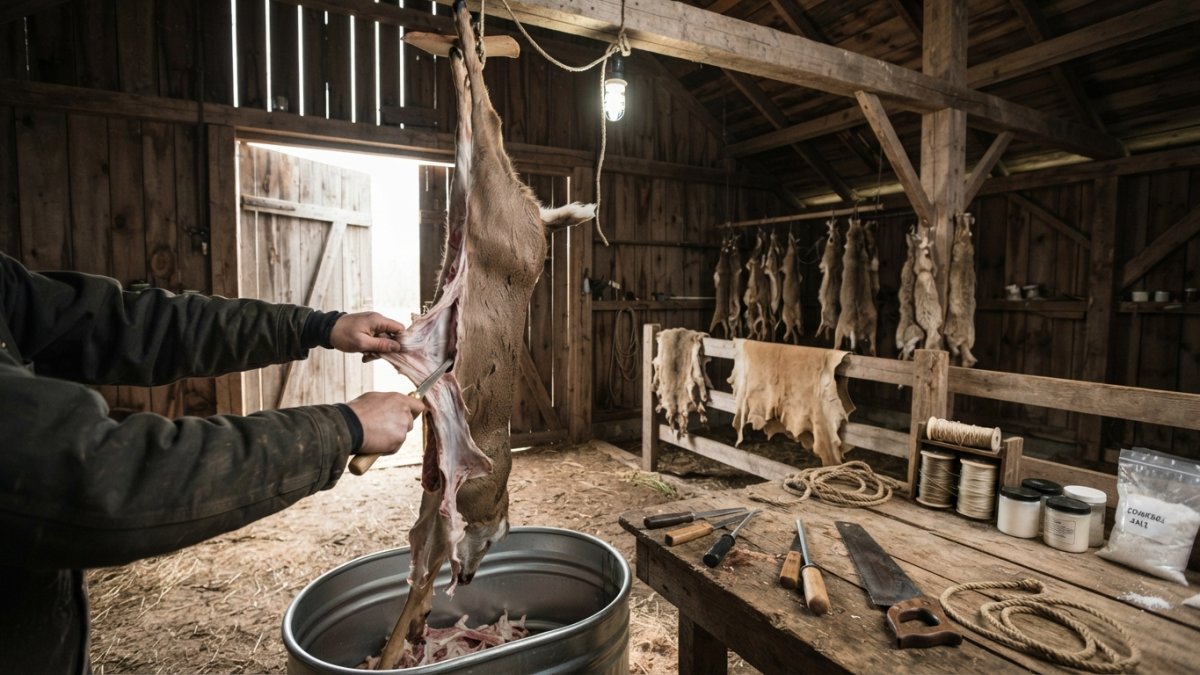
Fleshing removes the meat and fat from the skin side. Do this while the hide is fresh, ideally within a day of harvest.
- Scrape off fat and meat in short, even strokes.
- Work from the center outward toward the edges.
- Stop if you feel the fur loosening under the blade.
Clean fleshing makes the rest of the process faster and cleaner. A well-fleshed hide shows a uniform, slightly translucent skin side with no pink or yellow patches of fat left behind.
Watch out: pressing too hard near the edges, neck, and legs can tear the skin or loosen follicles, so lighten your stroke where the hide thins out.
Preserving the Hide With Salt Before Tanning
Salt stops bacteria from breaking down the skin. Rub a generous layer of non-iodized salt over the flesh side, using roughly a quarter-inch layer, then fold the hide flesh-to-flesh and let it rest in a cool place. Many crafters use this step to hold a hide for several days before they start tanning.
Watch out: wet spots or a sour smell mean the salt did not cover the skin well enough. Re-salt the damp areas and move the hide to a cooler, drier spot.
Soaking, Rinsing, and Preparing the Tanning Solution
Soak the hide in cool water until the skin is soft and flexible, usually a few hours to overnight depending on thickness. Keep the water below about 70°F; warm water is one of the most common causes of hair slippage. It is best to use a pickling solution to prevent bacterial growth and help plump the skin for further thinning if needed.
Then mix your tanning solution according to the product label. Keep the solution at a steady, moderate temperature for even results. Allow the hide to start to drip dry. When it starts to go from being fully wet to tacky, dip or brush the solution onto the flesh side, work it into the skin, and let the hide rest.
Choosing a Hair-On Tanning Method
Home tanners generally choose among three approaches, and the right one depends on hide size, fur type, and how much time you can give the project.
- Egg-yolk tanning: Egg yolks mixed with water and a little oil are worked into the flesh side. It is gentle on fur and suits small pelts, but it takes repeated applications and plenty of working.
- Brain tanning: A traditional method that produces very soft leather, but it demands the most labor and the most stretching.
A simple rule of thumb: small, thin pelts tolerate egg-yolk methods well, while thick deer hides and larger display pieces benefit from a commercial hair-on solution for consistency.
Working and Softening the Hide
Once the tanning solution has penetrated, the hide must be worked while it dries. Stretch it in all directions, flex the skin side over a beam or board edge, and keep the fur brushed away from the working surface. A hide that dries without working turns stiff and board-like, and re-wetting it later risks loosening the fur.
The hair-on tanning process follows a fixed order, and each stage has a typical timing or frequency to keep in mind.
Step | What to do | Time or frequency |
|---|---|---|
Fleshing | Scrape fat and meat from the skin side | Within a day of harvest |
Salting | Rub a quarter-inch layer of non-iodized salt on the flesh side | Several days before tanning |
Soaking | Soak in cool water below about 70°F until soft | A few hours to overnight |
Tanning | Apply solution to the flesh side and let it rest | Check skin often for suppleness |
Working and drying | Stretch and flex the hide while it dries | Work it as it dries, not after |
How Long Can You Tan a Hide With Fur On?
The timeline depends on hide size, thickness, and the method you choose. Plan for several days of active work plus drying time. Smaller pelts finish faster than large deer hides.
Hair-on work should never rush. A hide left in a warm, wet state can start to smell or lose fur. Keep the workspace cool and clean, and check the skin daily.
- Preservation with salt: Several days before tanning starts.
- Soaking and rinsing: A day or two, depending on thickness.
- Tanning and drying: Several days, followed by softening.
For a clearer picture of how long your own project may take, expect the process to span one to two weeks from start to finish.
How to Tan a Hide Without Chemicals
You can tan a hide with natural ingredients instead of commercial chemicals, and two methods dominate home tanning: egg-yolk tanning and brain tanning. Both keep the fur on, but they behave very differently in practice.
Egg-Yolk Tanning
Egg-yolk tanning is the most accessible chemical-free option for beginners. The lecithin in the yolk conditions the skin and helps keep it pliable.
- Whisk several egg yolks with warm water and a small splash of oil until the mixture is uniform.
- Work the mixture into the flesh side with your hands or a soft brush, covering the whole surface.
- Let the hide rest in a cool place for several hours, then apply a second coat.
- Repeat over a day or two until the skin feels supple and slightly tacky.
A common pattern is to use roughly one yolk per square foot of hide as a starting point, then adjust based on how quickly the skin absorbs the mixture. Egg-yolk tanning is gentle on fur and works well on small pelts, but it takes repeated applications and plenty of hand work.
Brain Tanning
The classic natural method mixes the animal's brain with water and works it into the flesh side. The mixture is applied in stages, with the hide stretched and dried between applications. Brain tanning produces very soft, breathable leather, but it demands the most labor of any home method and is best suited to tanners who have already practiced on a low-cost hide.
Trade-Offs to Expect
Natural tanning gives softer results but often takes more effort. Expect more rubbing and stretching to keep the leather pliable, and expect the fur to need extra attention to stay attached. Chemical-free tanning suits small projects and hobbyists who prefer simple materials. Larger décor pieces usually benefit from a commercial solution for consistent results.
Watch out: natural mixtures spoil quickly in warm weather, so mix only what you will use in a day and keep the workspace cool.
How to Tan a Deer Hide With Hair On
Deer hide is one of the most common hair-on projects. The hide is thick, so fleshing needs extra patience. Work slowly around the neck and legs, where the skin is thinnest.
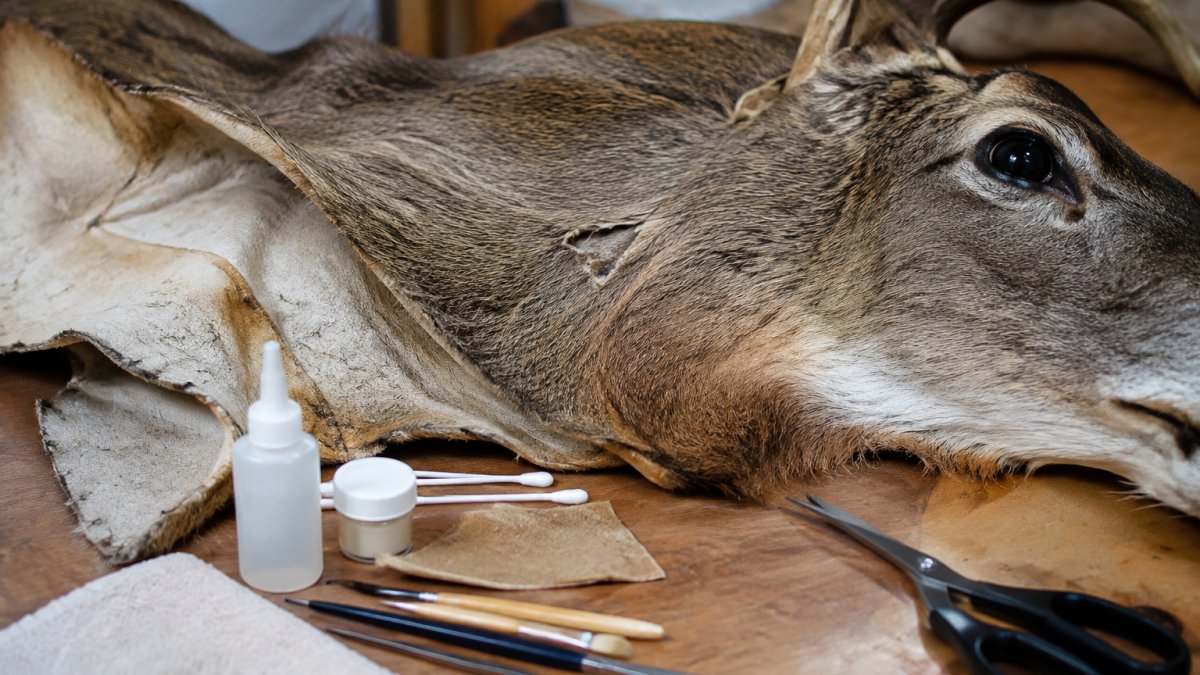
Once the hide is fully tanned and dried, stretch it over a frame and let it set. You can see a finished dry-tanned whitetail for reference. Gentle brushing restores the fur's shape.
Plan for longer soaking and drying times on deer hide. Thicker skin holds more moisture, so give it room to dry evenly.
Preventing and Diagnosing Hair Slippage
Hair slippage happens when the fur loosens from the skin. It is the most common problem in hair-on tanning. It often starts during fleshing or soaking.
Prevent it by handling the hide gently and avoiding rough scraping near the fur. Keep the water cool and rinse without heavy rubbing. To assess pelt quality and spot defects, follow how to grade raw fur pelts.
- Early signs: Fur comes out when you lightly tug a small area.
- Common causes: Hot water, rough scraping, or long soaking.
- Fix: Stop, reduce handling, and check the solution strength.
If you spot slippage early, adjust your method before it spreads. Small changes often save the whole hide.
Your Next Step: Sourcing Raw Pelts Responsibly
Practice on a low-cost hide before you work on a valuable specimen. Once you feel confident, source raw pelts that were harvested responsibly. A raw fur pelts buyer's guide covers grading, storage, and how to buy ethically sourced pelts. To compare sources and check sourcing practices, see Best Sources for Ethically Harvested Pelts.
Ethically Fur lists raw pelts, finished goods, and trapping supplies from North American sellers. Start with a clear project in mind, and buy only what you can process well.
Frequently Asked Questions
Can you tan a hide with the fur on?
Yes. Hair-on tanning keeps the fur attached to the skin, which produces a finished pelt suitable for rugs, wall hangings, and decorative projects. The process differs from hair-off tanning because the hide must be preserved and softened without soaking out the hair follicles or letting the fur slip. Success depends on careful fleshing, proper preservation with salt, and a tanning solution that penetrates the skin without damaging the roots of the hair. Beginners should practice on a small pelt, such as a rabbit or squirrel, before working on a larger deer hide.
How long does it take to tan a hide with fur on?
Hair-on tanning typically takes several days to a few weeks once the hide is clean and preserved, depending on the method, the hide's thickness, and the room temperature. Preservation with salt should happen within hours of harvest, and the tanning solution needs time to penetrate evenly. Check the hide regularly for pliability and fur security. Rushing the drying stage or letting the hide sit damp for too long raises the risk of hair slippage and skin rot, so plan for extra time rather than cutting corners.
How do you keep fur from slipping during tanning?
Hair slippage happens when the follicles loosen from the skin, often because the hide was left unpreserved, soaked too long, or exposed to heat before it was tanned. To prevent it, flesh the hide thoroughly, salt it promptly, keep water temperatures cool during rinsing, and avoid aggressive scraping near the hair roots. If you notice fur coming loose during soaking, stop, dry the hide slowly, and inspect the roots before continuing. Gently pulling a small tuft is a quick check for weak follicles.
What is the easiest way to tan a deer hide with the hair on?
For most home tanners, the simplest approach is to flesh the hide, preserve it with salt, rinse it in cool water, apply a tanning solution such as a commercial hair-on product or a basic egg-based mixture, and then work the hide as it dries. Use tools and chemicals only as the product label directs, wear gloves and eye protection, and keep the workspace clean. Species matters: deer hides are thicker than rabbit or squirrel pelts, so expect longer soak and drying times and more working by hand.