 How-to
Repairing Minor Tears in Taxidermy Leather: A Step-by-Step Guide
Last Updated: November 5, 2026
Quick Summary
Repairing minor tears in taxidermy leather starts with assessing size, location, and condition, then stitching small, clean rips with a curved needle and matching heavy thread. Rehydrate brittle leather slowly before stitching, and use a sub-patch under the tear for support so the repair holds.
- Tears under an inch usually stitch cleanly, while ragged holes in brittle leather need a gentler approach.
- Rehydrate dry, cracking leather slowly before stitching, or the repair pulls apart within weeks.
- Gather a curved needle, heavy matching thread, a thin leather sub-patch, sharp scissors, and fine tweezers.
- Match thread to the hide rather than the fur, and use lighter thread on thin, weak leather.
- Work from the underside with small, evenly spaced stitches at a shallow angle, then comb fur over the seam.
Table of Contents
- Step 1: Assess the Tear and Choose Your Method
- Gather Your Taxidermy Repair Tools and Prepare the Hide
- Step 2: Stitching a Taxidermy Hide for a Discreet Repair
- Frequently Asked Questions
Step 1: Assess the Tear and Choose Your Method
Repairing minor tears in taxidermy leather starts with an honest look at the damage, and taxidermy leather rarely forgives a rushed assessment. A small, clean rip along a seam is generally a stitching job, while a ragged hole in brittle leather needs a gentler approach.
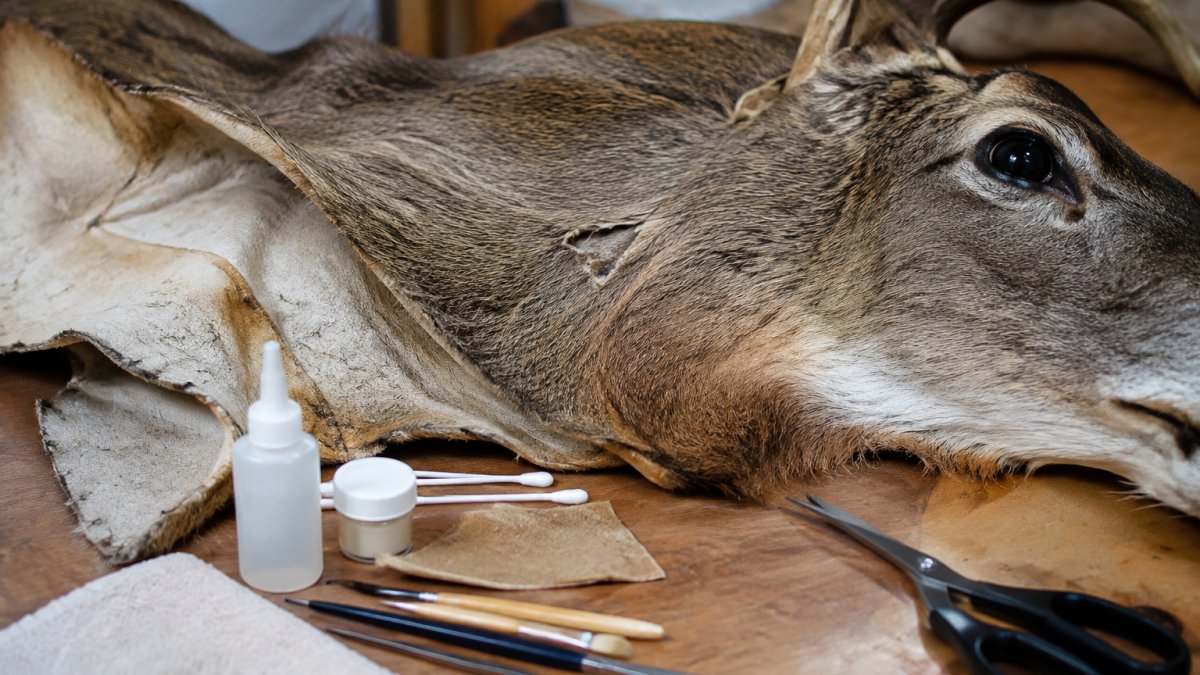
Check size (under an inch usually stitches cleanly), location (tears near eyes, ears, or nose need extra care), and condition (dry, cracking leather splits again under tension). Rehydrate brittle leather slowly before stitching, or your repair will pull apart within weeks. For tears too large or ragged to close yourself, professional taxidermy and tanning services are safer. Study a real example of a hide with a sewn hole or a tanned pelt with existing holes to judge what counts as repairable.
Before you pick up a needle, weigh the tear against these three checks.
| Factor | What to check | Note |
|---|---|---|
| Size | Under an inch | Usually stitches cleanly |
| Location | Near eyes, ears, or nose | Needs extra care |
| Condition | Dry, cracking leather | Splits again under tension |
| Brittle hide | Rehydrate slowly first | Otherwise repair pulls apart within weeks |
| Large or ragged tear | Too big to close yourself | Professional services are safer |
Gather Your Taxidermy Repair Tools and Prepare the Hide
Common taxidermy repair tools include a curved needle, heavy thread in a matching tone, a sub-patch of thin leather, sharp scissors, and fine tweezers.
Clean the tear's edges, remove loose fur, ease the skin flat, slide a sub-patch under the tear for support, and match thread to the hide, not the fur. Understanding how to grade a pelt for quality helps: thin, weak leather needs lighter thread and smaller stitches than a thick, firm cape.
Step 2: Stitching a Taxidermy Hide for a Discreet Repair
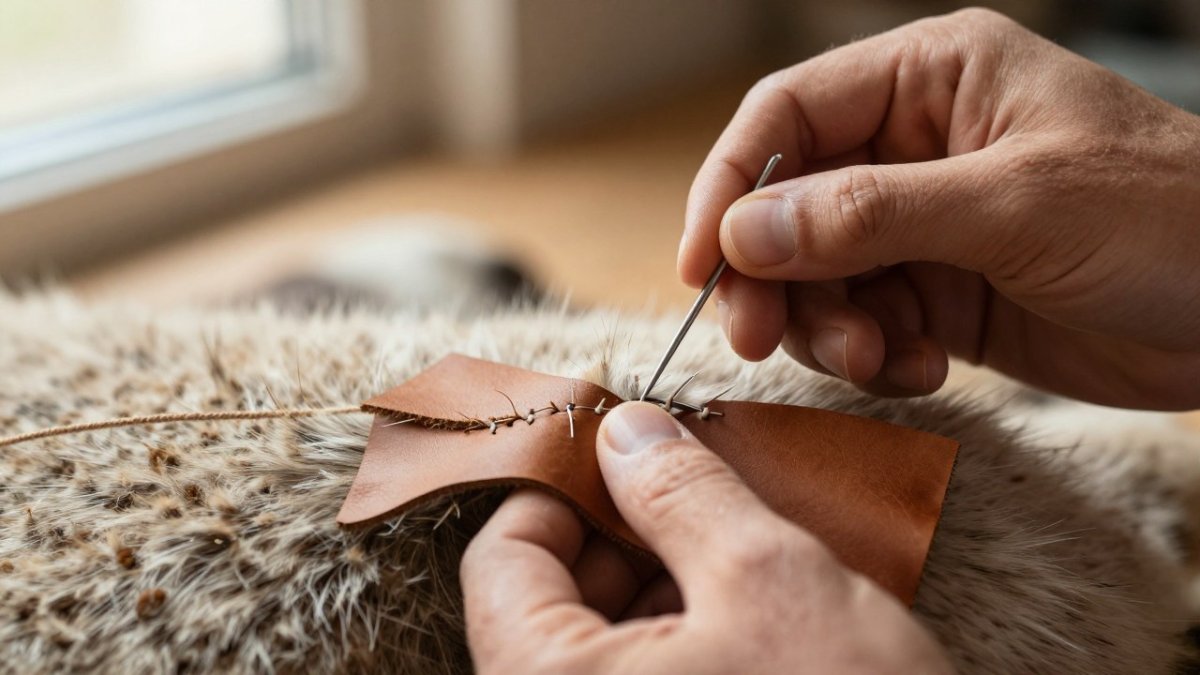
Stitching a taxidermy hide well comes down to small stitches and a shallow angle. Work from the underside where you can.
Anchor your thread with a knot large enough to stop pull-through, bring the needle through at a shallow angle catching the sub-patch too, and pull gently, tight thread puckers the leather and leaves a visible scar. Space stitches evenly, close the gap in one pass, then bury a finishing knot under the skin and comb the fur over the seam. If the leather cracks as you work, stop and switch to a leather repair adhesive.
Frequently Asked Questions
Can tears in taxidermy leather be repaired?
Most minor tears can be repaired if the hide is still supple and the edges meet cleanly. Small rips along a seam or shoulder mount respond well to discreet stitching or a flexible leather adhesive. Large, ragged, or brittle tears are harder to conceal and may need professional taxidermy repair. Assess the hide's condition first, then choose a method that supports the tear from the underside without adding stress.
Should you use glue or stitching to repair a taxidermy hide?
Use stitching when the tear is long, under tension, or in a visible area where you need a strong hold. Choose a flexible leather glue or polyurethane adhesive for short, clean cuts where stitches would show. For brittle or old leather, glue alone may crack, so a small sub-patch behind the tear plus light stitching is a common approach. Whichever you pick, keep adhesive off the fur.
How can you tell whether a taxidermy hide is too brittle to repair?
Gently flex the edge of the skin near the tear. If it cracks, flakes, or feels stiff like cardboard, it is likely too brittle for stitching and may tear further. In that case, humidify the area slightly, use a flexible leather filler, or hand the piece to a professional taxidermy repair specialist. Never force a needle through old leather that resists; you will enlarge the damage.