 Comparison
Is Professional Trapping Gear Worth the Money?
Last Updated: November 7, 2026
Quick Summary
Professional trapping gear is worth it when its upgrades protect your sets, such as anchoring and trap construction on lines run every day. Set tools like hammers and sifters rarely change results, so a basic version usually does the same job. Compare total cost of ownership and your expected failure losses before you buy.
- Upgrade anchoring and trap construction first, since a trap that stays put and springs reliably protects set time.
- A mid-range trap sized correctly for your target often performs as well as a premium model.
- Track replacement parts, repair time, and failed sets to compare cost per season of service.
- Rough ground and heavy frost stress gear more, which raises the value of durable construction.
- Use a conservative service life and count only the failures you can reasonably expect to prevent.
Table of Contents
- What Professional Trapping Gear Actually Includes
- Trapping Equipment Worth the Money: Where Upgrades Pay Off
- Best Traps for Beginners and When Entry-Level Gear Is Enough
- Duke vs. Bridger Traps: How Two Popular Options Compare
- Trapping Gear Durability and Maintenance: Total Cost of Ownership
- Cost Versus Return: Running the Numbers on a Professional Setup
- Choosing Your Next Piece of Gear from Ethically Fur's Listings
- Frequently Asked Questions
What Professional Trapping Gear Actually Includes
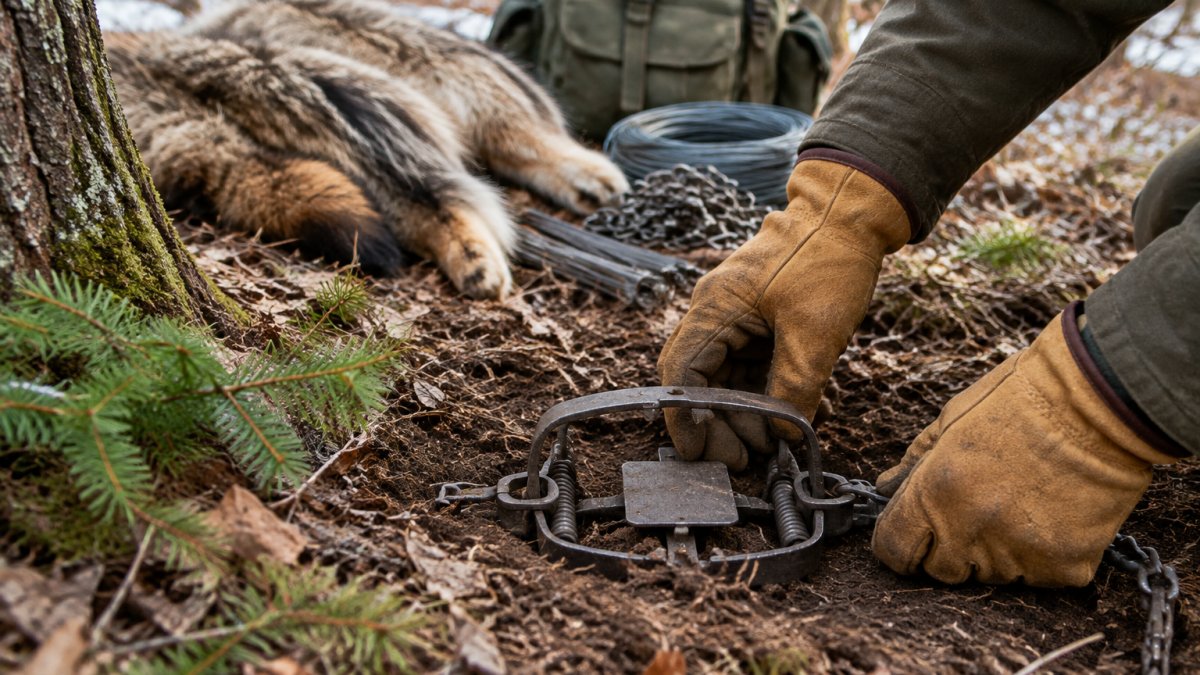
Professional trapping gear is usually a complete system rather than a single item. Most setups combine foothold traps in several sizes, anchoring systems, and the basic tools needed to build a set quickly and consistently. Understanding each component helps you decide which pieces are worth paying more for.
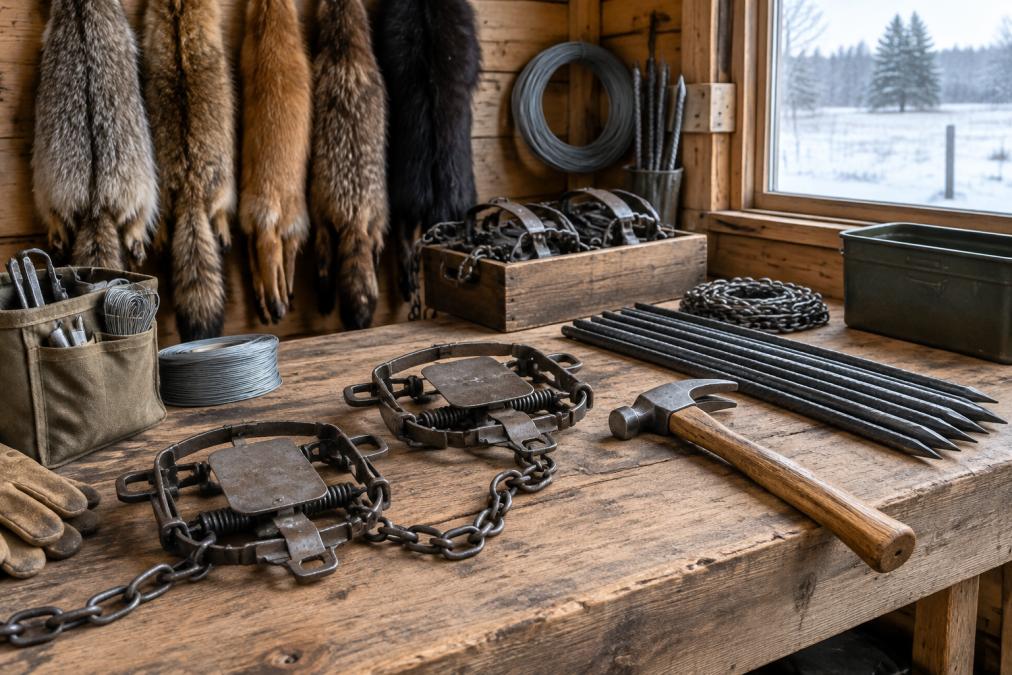
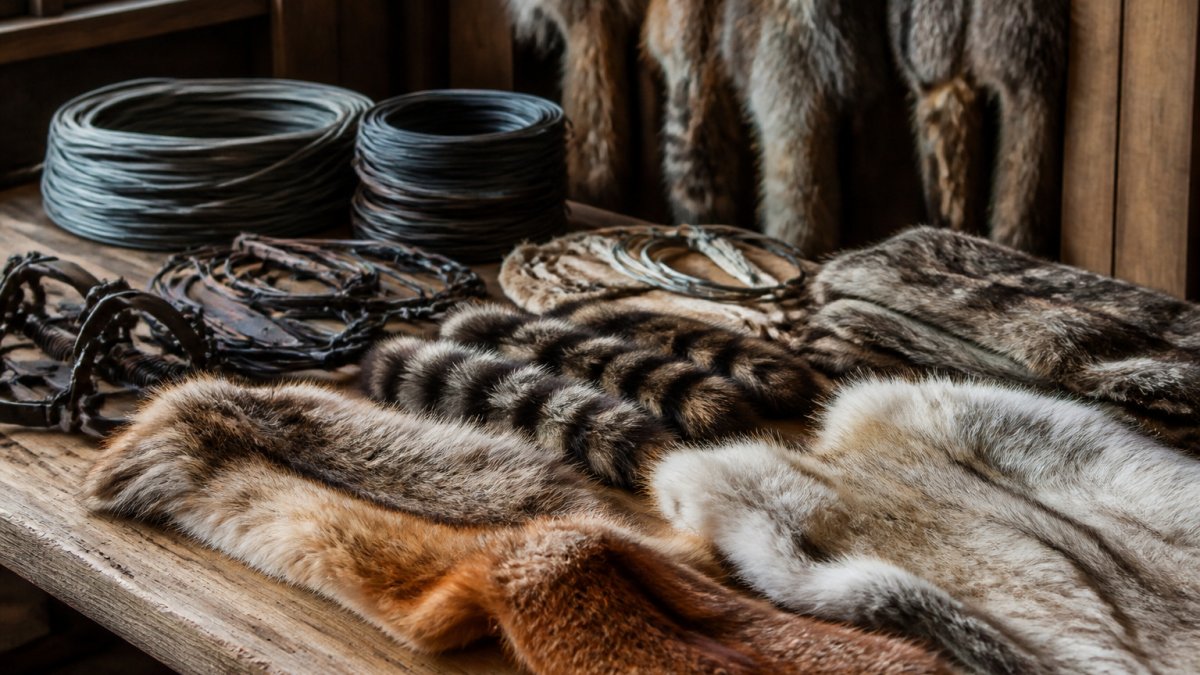
A workbench in a rural shed featuring essential trapping gear like foothold traps, a hammer, and rebar stakes.
Trappers approach this question from very different starting points. Some arrive with a fixed budget and a single target species. Others are building out a line of several hundred sets and need gear that holds up to daily handling. Both groups benefit from knowing what a complete kit actually contains before they compare prices.
A typical kit covers four categories:
- Traps: Foothold traps, often in a few jaw sizes, with differences in spring strength and jaw construction.
- Anchoring: Rebar stakes, cables, and swivels that hold a trap in place.
- Set tools: A trapping hammer, a trowel, and a sifter for preparing and concealing the set.
- Maintenance supplies: Spare parts, cleaning materials, and replacement springs.
Trap choice is the most visible decision. Trap size, spring strength, and construction all affect how a trap performs in the field, and they also shape the total cost of a setup. Heavier traps with stronger springs cost more, but they can handle larger animals and rougher terrain.
Trapping Equipment Worth the Money: Where Upgrades Pay Off
Not every item in a professional kit deserves the same budget. Some upgrades change how often a set works. Others only add weight and cost.
Anchoring and trap construction usually produce the clearest return. A trap that stays put and springs reliably protects the time you spend making the set. Replacing a trap that bent or failed after a few uses costs more than the upgrade would have. For related trapping-adjacent products, you can browse tanned coyote paws listed on the site.
Set tools are different. A good trapping hammer and sifter make the work faster, but a basic version does the same job. Spending more here rarely changes capture results, so the money is usually better spent on traps and anchoring.
Consider these questions before buying an upgrade:
- Does this item affect whether the set works, or only how comfortable the work is?
- Will it be used on every trip, or only occasionally?
- Does the cheaper option fail in a way that costs you animals or time?
Watch out: buying the highest-priced trap for every species often wastes money. A mid-range trap sized correctly for your target usually performs as well as a premium model.
The table below summarises which kinds of gear upgrades tend to pay off and why, based on the points made in this section.
Item | Pays off when | Why |
|---|---|---|
Anchoring and trap construction | Traps are used daily | A trap that stays put and springs reliably protects set time |
Set tools (hammer, sifter) | Rarely changes results | A basic version does the same job |
Mid-range trap | Sized correctly for target | Often performs as well as a premium model |
Premium trap | Large or strong animals | Heavier springs handle larger animals and rough terrain |
Best Traps for Beginners and When Entry-Level Gear Is Enough
Beginners do not need a full professional kit to start learning. Entry-level gear is enough for a first season if your goal is to learn sets, learn animal behavior, and understand local regulations. Before buying any trap, check the legal seasons, trap-check requirements, and humane practice rules for your state. Your state wildlife agency publishes this information, and it should guide every equipment decision.
Entry-level gear makes sense in a few situations:
- You are trying trapping for the first time and are not sure you will continue.
- You trap a small number of sets in a limited area.
- You want to learn your target species before investing in specialized equipment.
Entry-level gear becomes a limitation when you run many sets, trap in rough terrain, or target larger animals. At that point, weaker springs and less durable construction can slow you down and increase the number of failed sets.
Duke vs. Bridger Traps: How Two Popular Options Compare
Comparing traps by brand alone rarely answers the real question. What matters is trap size, spring strength, jaw design, and how each model fits your target species and terrain.
Anyone comparing trap brands should check the same criteria: jaw dimensions, spring rating, pan design, and warranty terms.
A practical comparison method works for any brand:
- Match trap size to your target species and the feet you will set.
- Check spring strength against the animals you expect to catch.
- Compare construction, especially welds and the pan mechanism.
- Ask the seller about replacement parts and warranty coverage.
Once you have these details for each model, the comparison becomes concrete.
Trapping Gear Durability and Maintenance: Total Cost of Ownership
The sticker price is only part of what a trap costs. Total cost of ownership adds replacement parts, repairs, cleaning supplies, and the time lost when a trap fails mid-season.
Break the cost into four buckets and track them per trap:
- Purchase price, spread across the expected service life.
- Consumables: springs, pans, chain, swivels, stakes, and cable that wear or get lost.
- Repair time: hours spent straightening jaws, replacing pins, or re-welding.
- Failure cost: animals missed or sets that go cold because a trap did not fire or hold.
A simple log works better than memory. Record the date each trap goes into service, every part replaced, and any set that failed for a gear reason. After one season you will see which models eat parts and which run clean.
Inspection follows a predictable pattern. Check jaws for bends and uneven closure, test spring tension against a known-good trap, look for corrosion at welds and chain attachment points, and confirm the pan drops freely and trips at consistent pressure. Clean and dry traps before storage, and store them off the ground so moisture does not sit on the springs.
Keep a small spares kit on the line: extra springs, pins, chain links, swivels, and a few stakes. A single broken part should not idle a set for the rest of the trip.
Watch out: a cheaper trap that needs a new spring or pan every season can outspend a sturdier model within two or three years, so compare gear on cost per season of service, not cost at checkout.
Durability also interacts with terrain. Rocky ground and heavy frost stress jaws and stakes more than soft field soil, so the same trap may last noticeably longer on one line than another. Match construction to the ground you actually trap, and expect to replace hardware sooner on rough ground regardless of brand.
Cost Versus Return: Running the Numbers on a Professional Setup
A professional setup costs more at the start, so the question becomes whether it returns that cost through more reliable sets and fewer losses. The useful move is to build a break-even comparison instead of relying on general claims.
Start by listing what your current gear actually costs you each season:
- Traps lost, damaged, or retired early.
- Replacement parts and repair time.
- Sets that failed for a gear reason and the animals those failures cost.
- Trips or hours spent reworking sets that a sturdier trap would have held.
Then estimate the same categories for the professional setup, adding its purchase price divided by expected service life. The upgrade pays off when the annual cost of the professional setup, including its share of purchase price, comes in below the annual cost of the current gear plus the value of the losses it prevents.
A few decision criteria sharpen the answer:
- Line length: short lines rarely generate enough failure cost to justify premium gear; long lines do.
- Number of sets: the more sets you run, the more each avoided failure is worth.
- Terrain: rough ground and heavy frost stress gear and raise the value of durable construction.
- Target species: larger, stronger animals put more load on traps and anchoring.
- Frequency of use: gear used every week amortizes faster than gear used a few times a season.
Fur value belongs in the calculation but should not drive it. Prices for pelts vary by species, grade, and season, and they change from year to year, so check current market information from buyers before assuming any particular return. Ethically Fur lists fur and trapping supplies from North American sellers, and pricing depends on quantity, timing, and delivery. For current prices or a quote, contact us directly.
Watch out: spreading a purchase price over an optimistic service life flatters any upgrade, so use a conservative lifespan and count only the failures you can reasonably expect to prevent.
If the professional gear closes the gap on paper, upgrade the pieces that protect sets first, then add where the numbers support it. If it does not, the entry-level option remains the better buy for that line.
Choosing Your Next Piece of Gear from Ethically Fur's Listings
If you have decided which upgrades matter most, the next step is finding reliable sources. At Ethically Fur, we list fur, taxidermy supplies, and trapping equipment from sellers across North America, so you can compare options in one place. Browse the full range of listed trapping supplies by category to see what is currently available.
When you evaluate any listing, check these details before buying:
- Trap size and jaw dimensions for your target species
- Spring rating and construction
- Whether replacement parts are available
- The seller's return or warranty terms
If you have questions about a specific item, contact us before you buy. Our team can help you narrow down options based on your target species and setup.
Before you build a larger setup, review the legal requirements. Understand fur trapping regulations and ethics in 2026 covers state rules, seasons, trap checks, and humane practices. Knowing the rules protects both your investment and your standing as a trapper.
Ready to upgrade? Sell where fur is welcome explains how selling your own harvest works, which helps you estimate returns on a professional setup. Start with the gear that protects your sets, add upgrades where they change results, and build from there.
Frequently Asked Questions
Is trapping worth the money?
Whether trapping pays depends on the fur market, how many animals you catch, and what you spend on equipment and travel. Fur prices shift from season to season, and many trappers trap mainly for pest control or for the experience rather than profit. Before buying professional gear, total up your expected seasonal catch, the realistic value of those pelts, and your annual spending on traps, bait and replacements. If the numbers stay positive over a full season, the gear is more likely to be worth it.
Are Duke or Bridger traps better?
Neither brand is universally better; the right choice depends on target species, terrain and how you plan to set your line. Compare the trap size, spring strength, jaw design and anchoring system for the animals you pursue. Read recent reviews from trappers working your region, and check current pricing and availability directly with the seller rather than relying on older figures.
What gear does a first-time trapper actually need?
A first-time trapper usually needs a small set of foothold traps sized for the target species, a set of anchoring stakes or chain, a trapping hammer, and a trowel or sifter for making sets. Start with a limited number of traps so you can learn their behavior in the field before expanding. Once you know which setups produce consistent captures, you can decide which upgrades are worth the cost.
Which trapping tools are worth upgrading first?
Upgrade the items that directly affect capture reliability and daily handling first: traps that set consistently, anchoring systems that hold under pressure, and tools you use on every set. Accessories like extra bait containers or specialty lures can wait until your core kit proves itself. Keep records of which items fail or wear out fastest, since that data will show where a better-built product earns its price.